Research Blog11:Motion Graph exercise(animated banner)
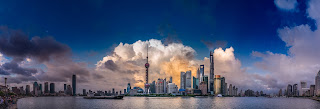
Image chose for motion graph
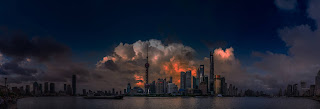
I chose the most famous landscape of Shanghai as the picture of my GIF choice. It shows some of the best-known buildings in Shanghai. The most famous and prominent Shanghai scenery is selected in the caption picture, allowing visitors to see the city at first glance. I used Photoshop to adjust the image's size to convert between dark and bright colors and move the text. I also summarize a slogan on a motion graph that reflects the essence of the website.
The first image of my banner
After Effects
Firstly to create a new layer (1920*1080)
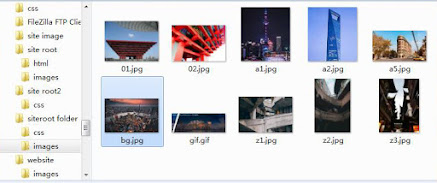
port the material Into After Effect in AE
It is to move the graph at the position keyframe, and then use the expression loop, the background there to use the mask, the principle is the same as changing the position k keyframe. The purpose of my GIF is to convert between two photos and move the white subject text. Left and right movement of text and white bars can give the audience a visual impact, more understanding of the nature of the site and the theme
Shape adding in after effects
In the animation, I chose to make the white diagonal line, which can give the two pictures a distinct feeling.
Adding the text on my motion graph
Add the text I want to the composite video. Select T (Type Tool) and join in exploring the architecture in Shanghai. Adjust the font size, color, and boldness to suit my needs.
After adjusting the font, I start to edit its move/change path. The "Selection Tool" in the selection menu bar is the first arrow tool in the toolbar.
Select the text layer, click on the little triangle in front of the text layer, click on the little triangle in front of "Transform", and now I see "Position". Click on the little stopwatch in front of the position. As shown in the figure. Set up the position keyframe.
Then use the mouse to move the cursor to the desired position.
After adjustment, I combined the text and two photos to move together, making the banner more vibrant.


评论
发表评论